# Organisation
NOTE:
This section of guides is for users and grantors of CreditRisk Portal. If you are trying to fill out a credit application and need help, you can find those guides here..
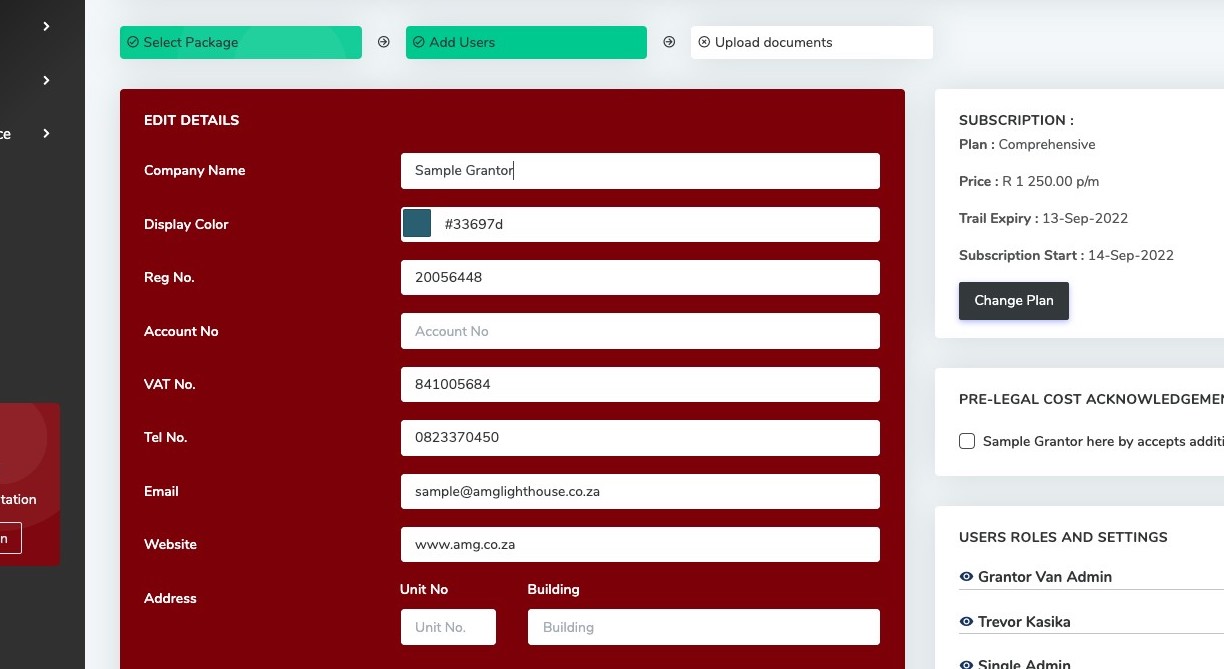
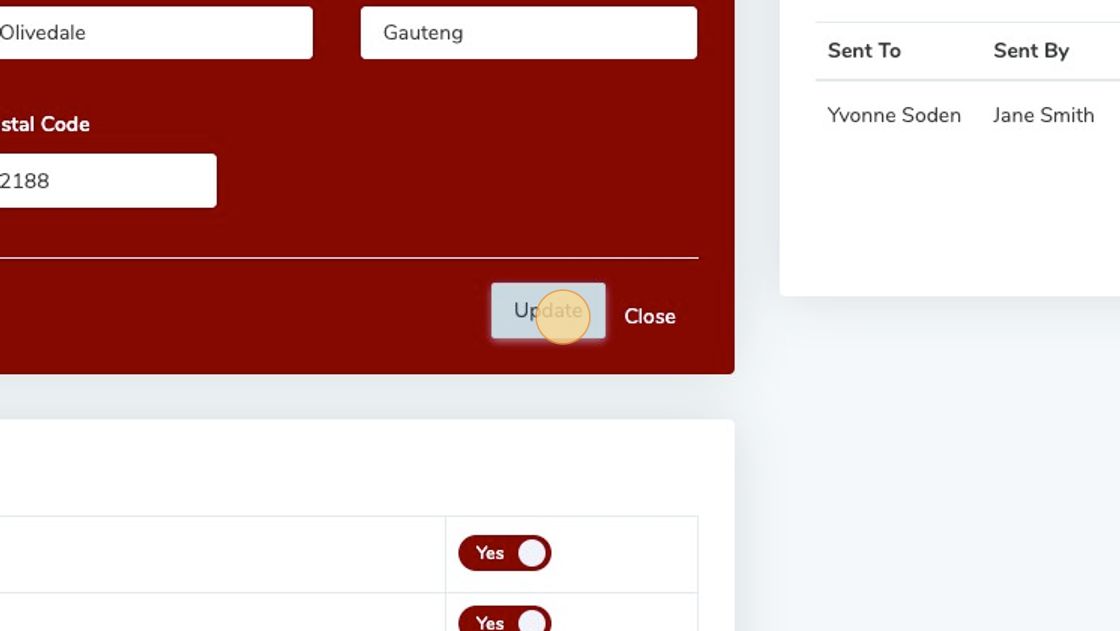
# Organisation Details Admin Only
If you need to update or edit your organisations details
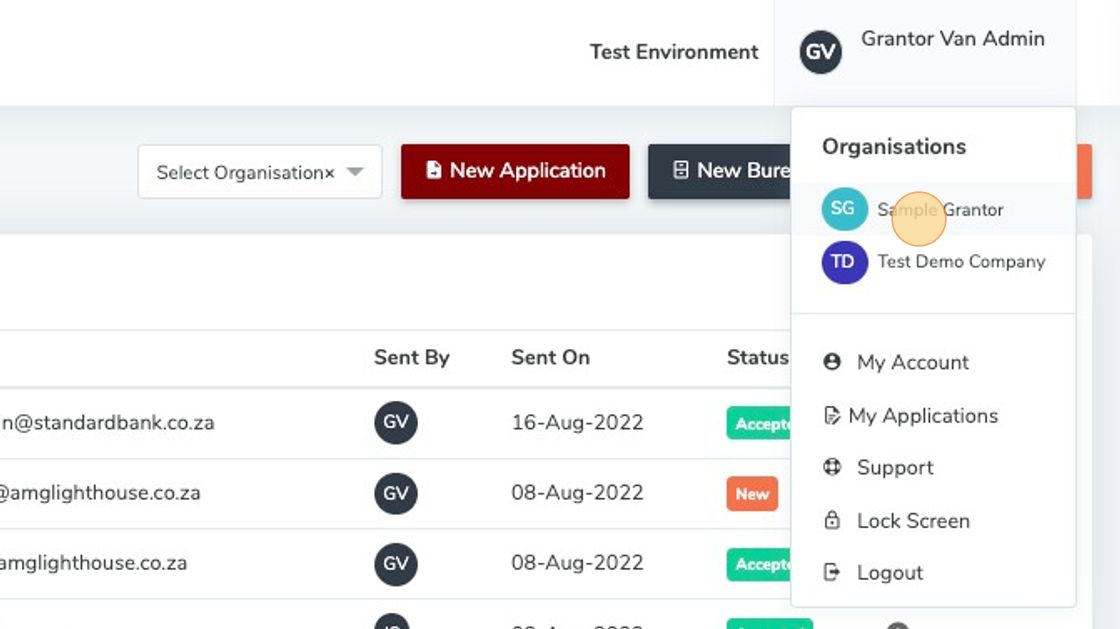
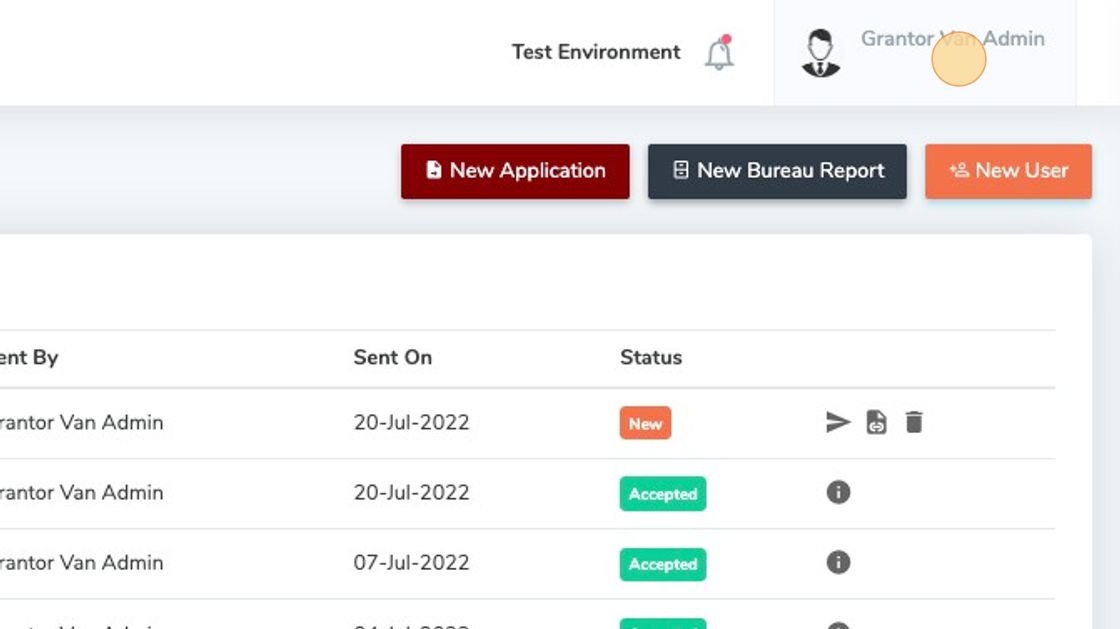
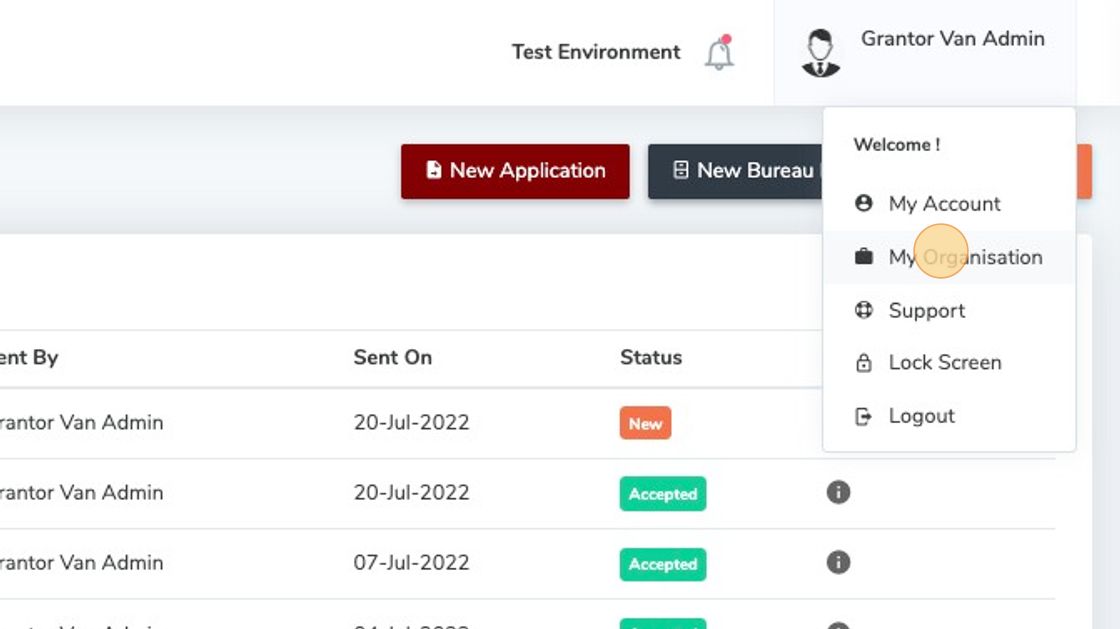
1. Click "Your Profile"
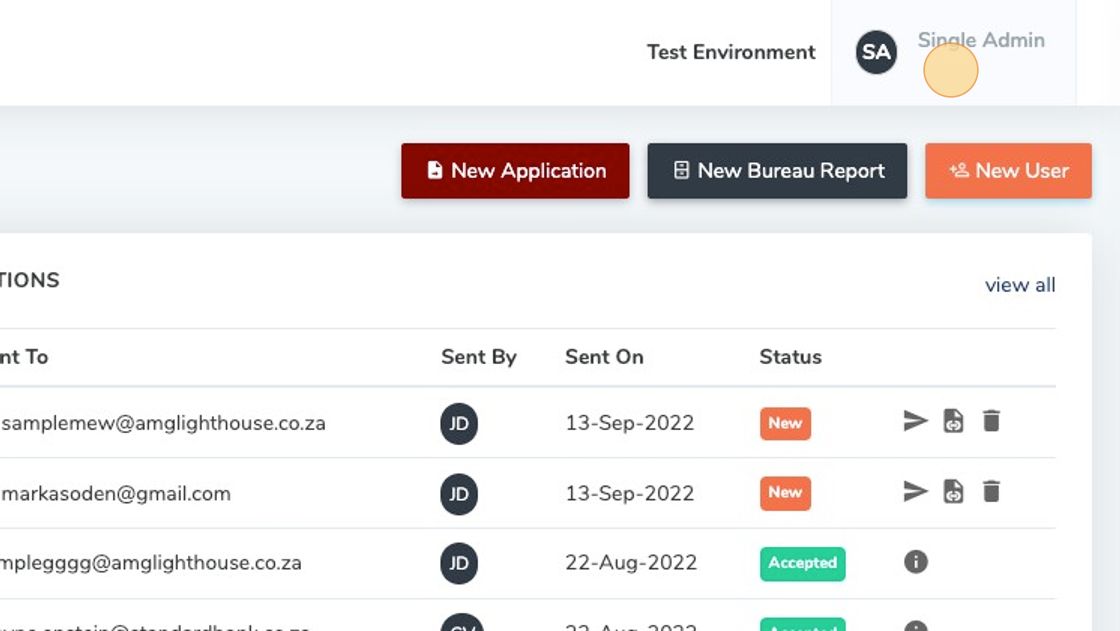
2. Click "My Organisation"
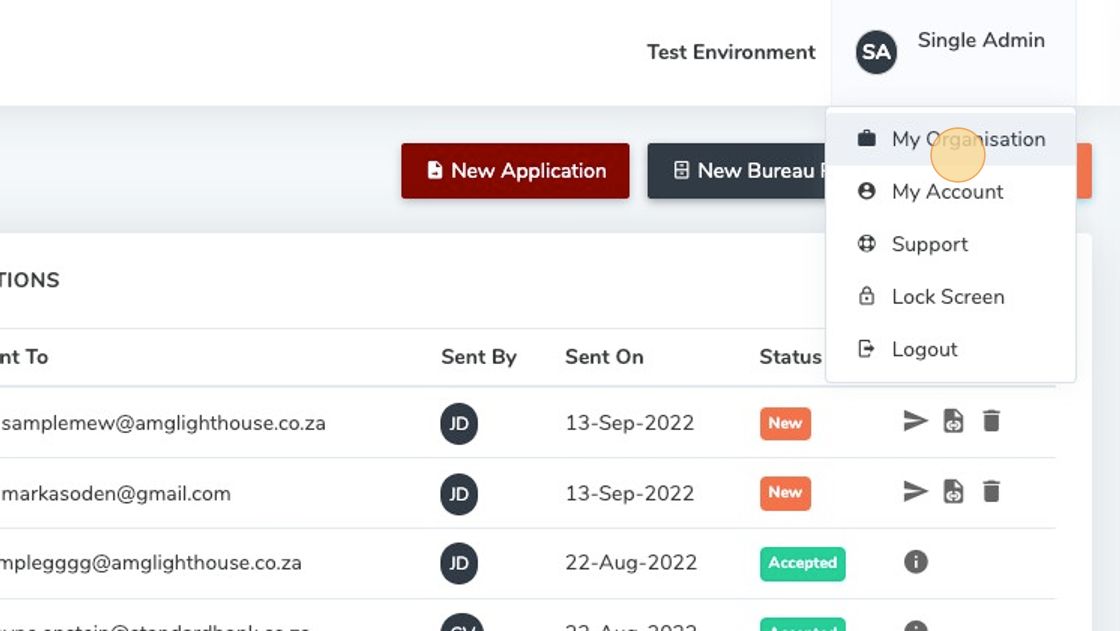
3. Click "Edit Profile"
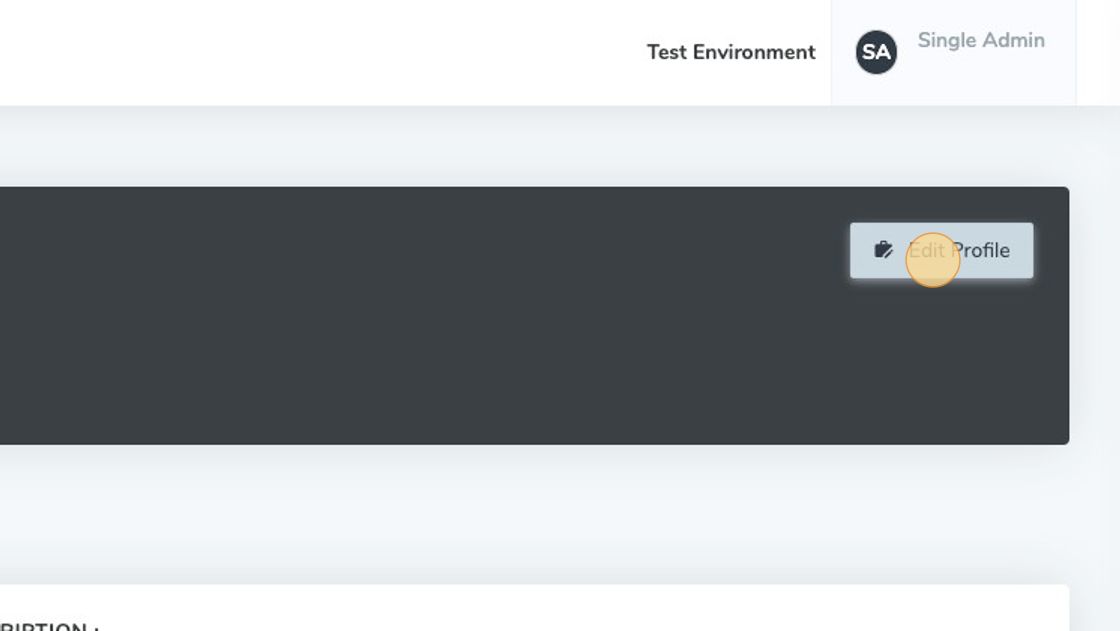
4. Update / Edit any details you need.
5. Click "Update"
# Update Your Logo Admin Only
To edit your company logo, follow these steps:
1. Click on "Your Profile".
2. Click on "My Organisation".
3. Hover over the default image and then click on "Click To Upload". Follow the steps to upload the image.
# Update Email Header Admin Only
To edit your email header, follow these steps.
The header requires a 600px long image to best fit the template.
1. Click on "Your Profile".
2. Select.
Click "My Organisation" if you are a single company.
If you have access to more than one organisation, select the organisations you wish to edit.
3. Scroll down to Email Templates, then click "Upload Header Image".
If you need to replace the current image, you can follow the same steps.

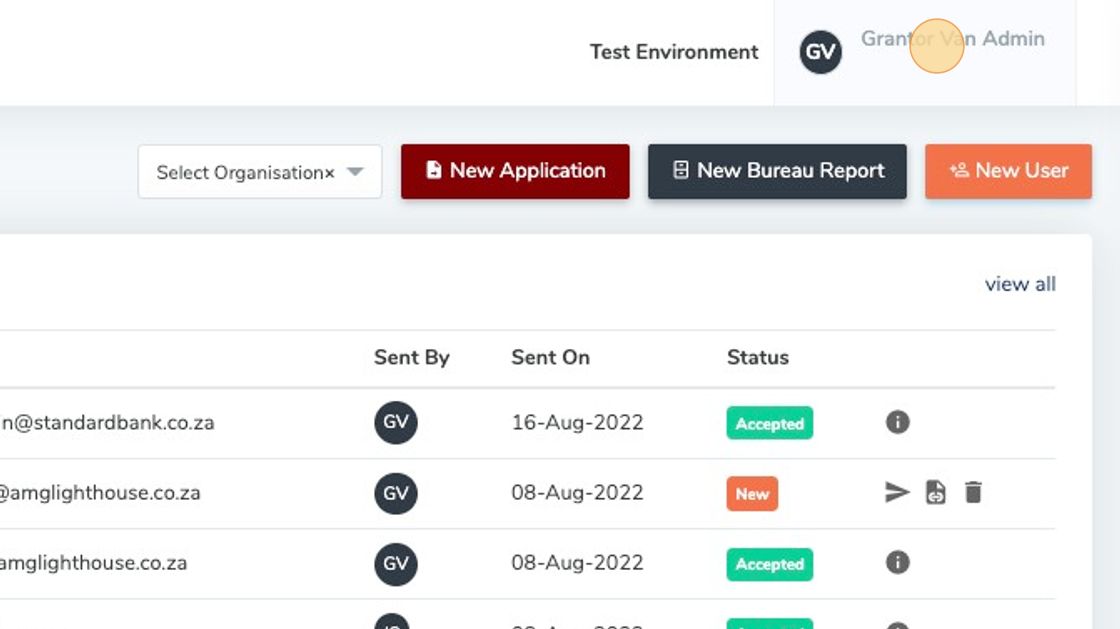
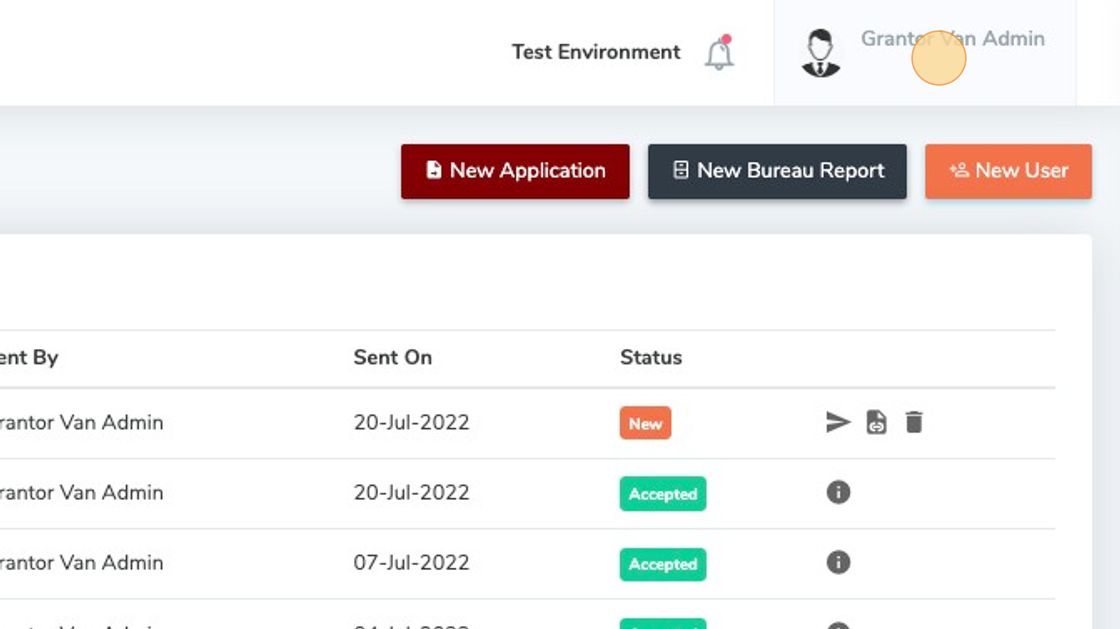
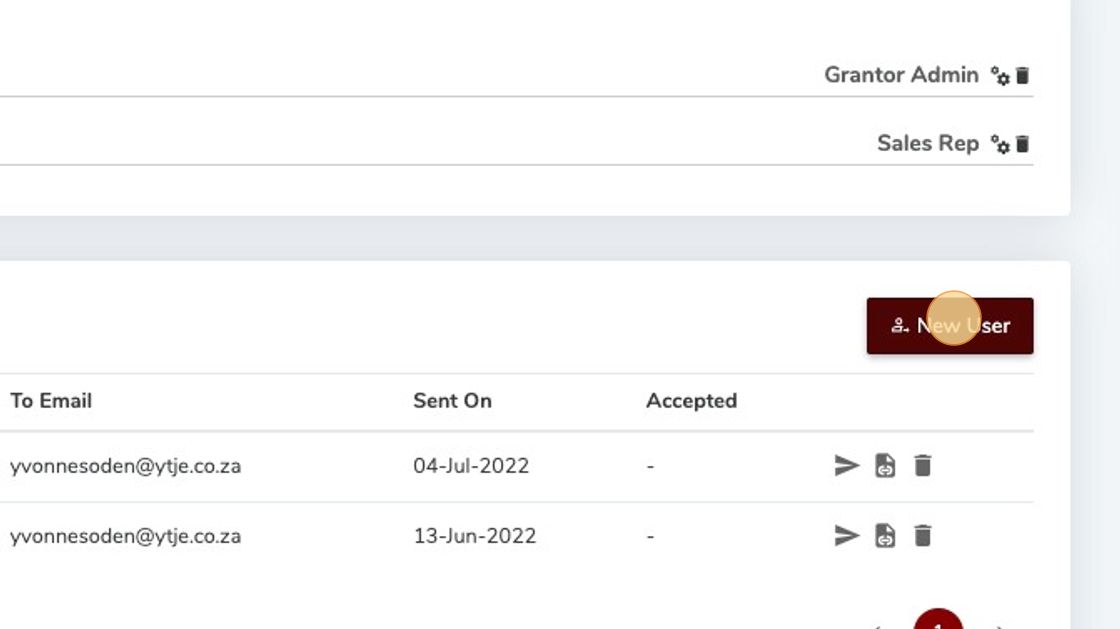
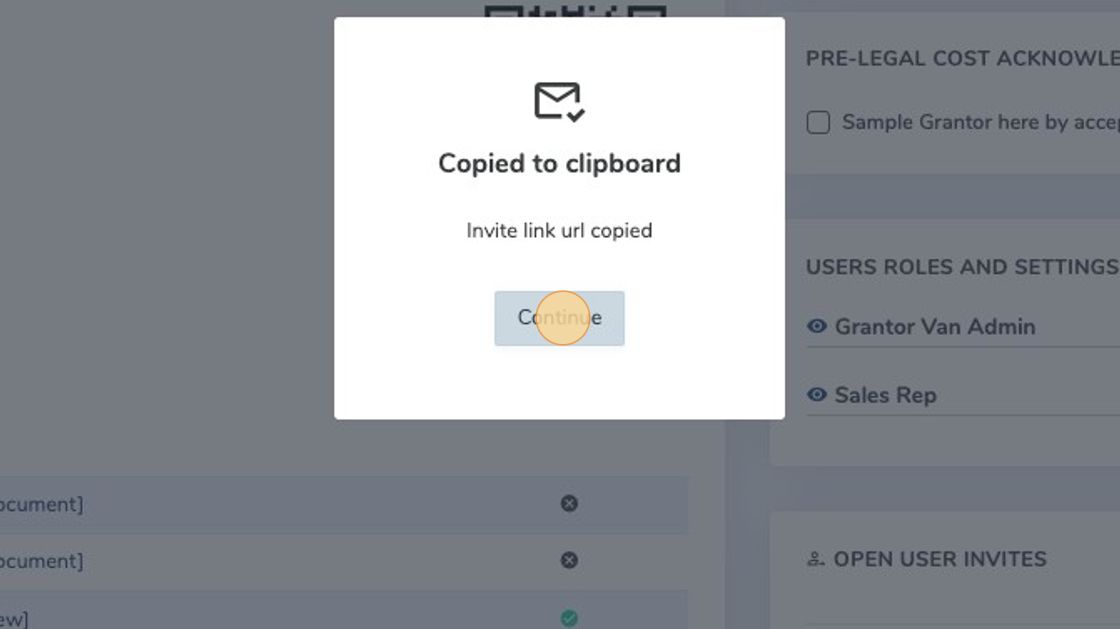
# Inviting A User Admin Only
Add and invite a user into the system with the following steps.
TIP
You can skip step 1 and 2 if you're on the Dasboard, and use the "New User" button the top right.
1. Click "My Profile".
2. Click "My Organisation".
Click "My Organisation" if you are a single company. If you have access to more than one in your organisation, select the specific organisation you wish to edit.

3. Click "New User".
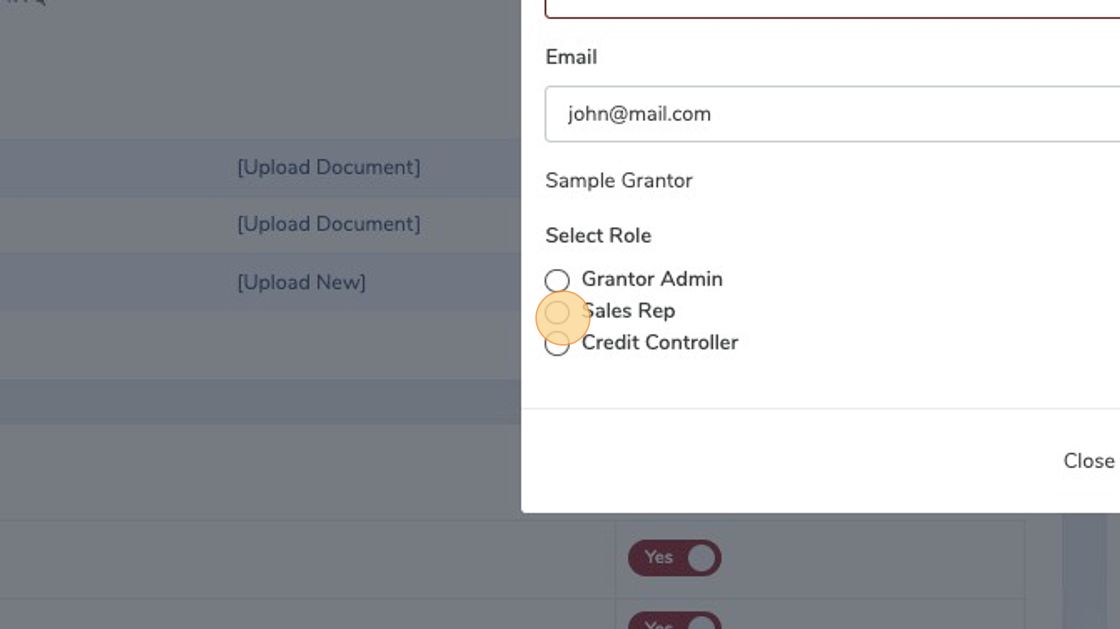
4. Fill in the required information.
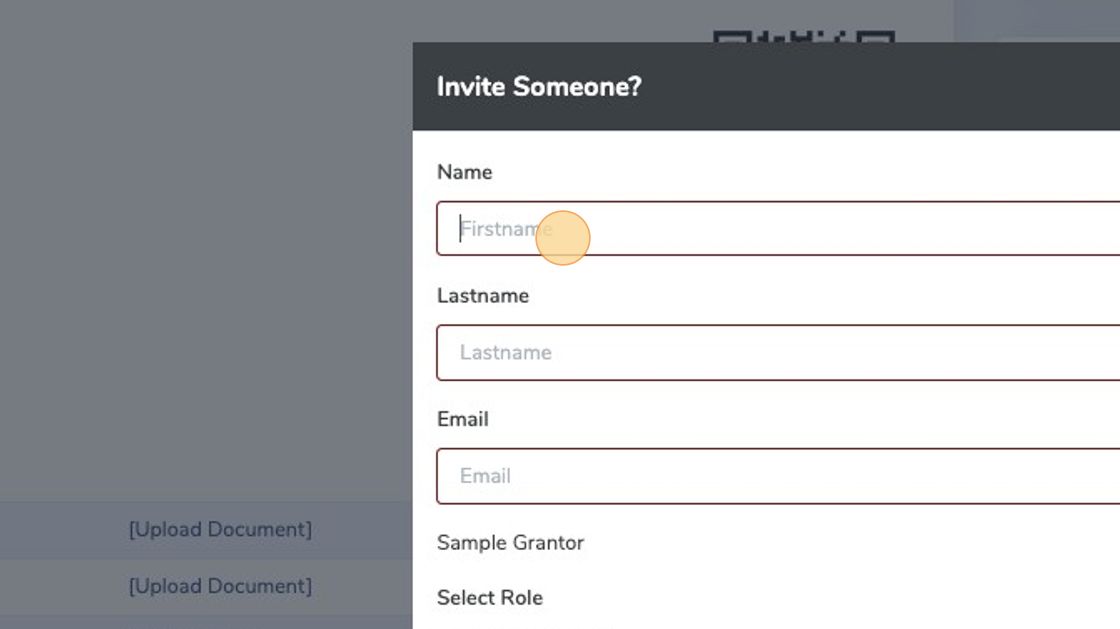
5. Choose the "Role".
See User Roles for more information.
6. Click "Invite".
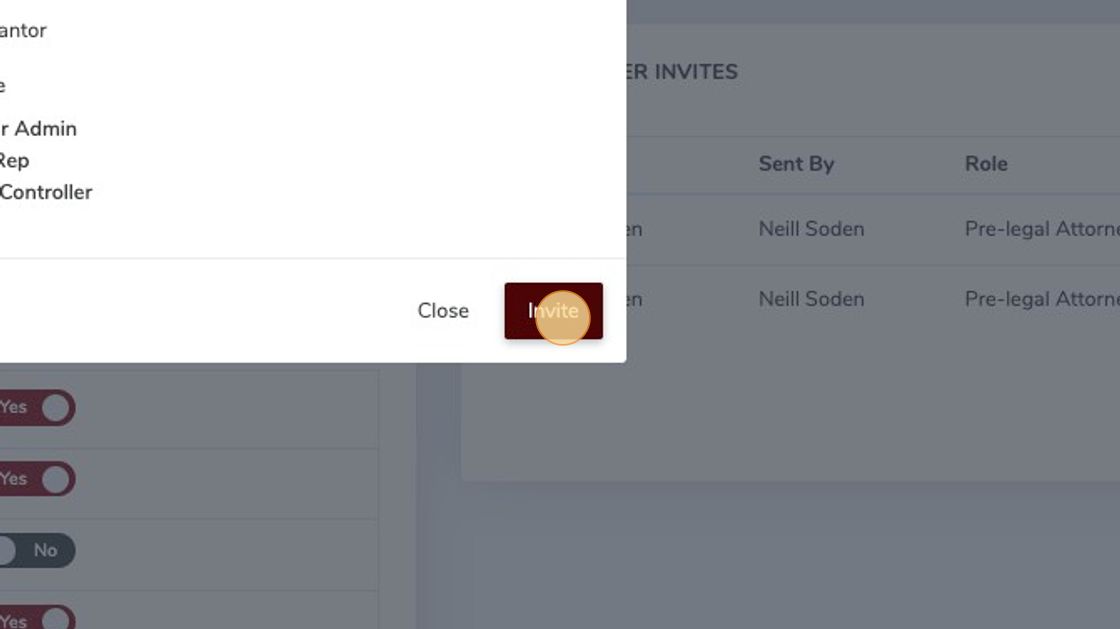
7. Click "Continue".
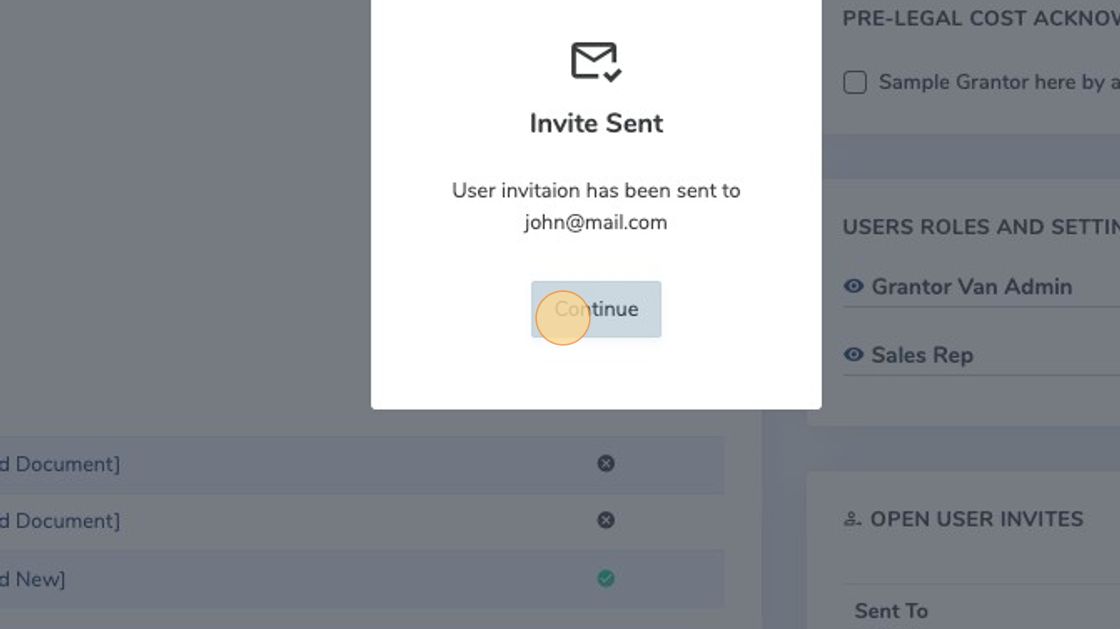
Note
The email invite will be in two steps. First the invite, and a second email to verify before login is allowed.
# User Roles Admin Only
| Role | Description |
|---|---|
| Grantor Admin | Full access to the system, including the setup of the organisation and user management. |
| Credit Controller | Full access to the system, excluding the setup of the organisation and user management. |
| Sales Rep | Ability to send application invites, view application progress and view customer information. |
| Sales Rep | Ability to send application invites, view application progress and view customer information. |
"Sales Rep" is a great way to allow your sales force to send out credit applications. This can even be done from their mobile phones.
# Resending An Invitation Admin Only
Why would you do this?
The user did not receive the mail, it was deleted or the link has expired.
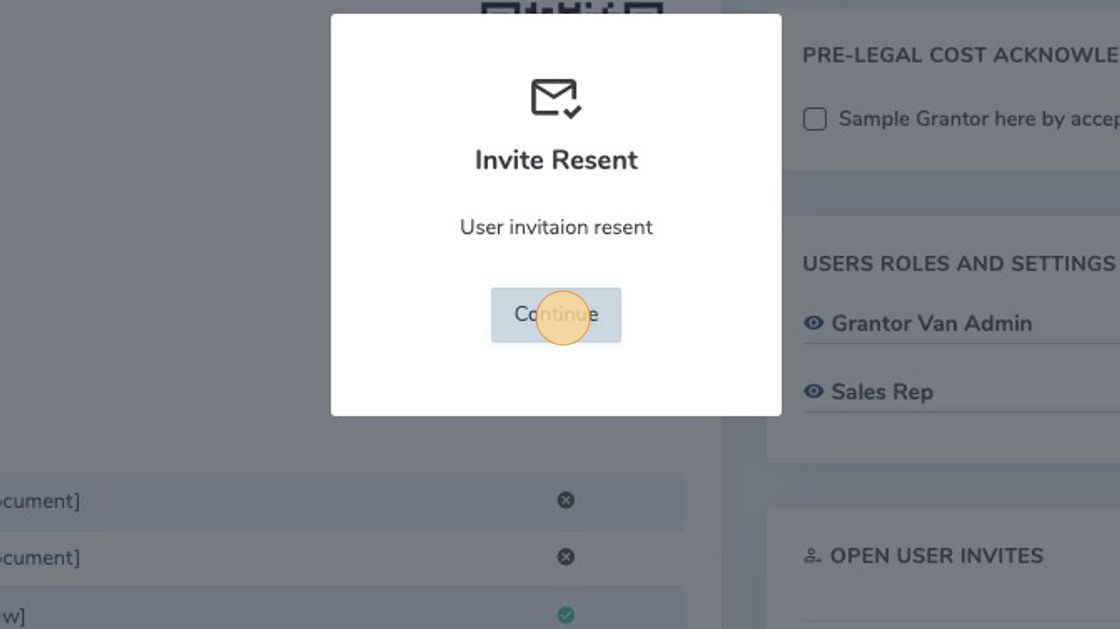
1. Click on the "Send" icon.
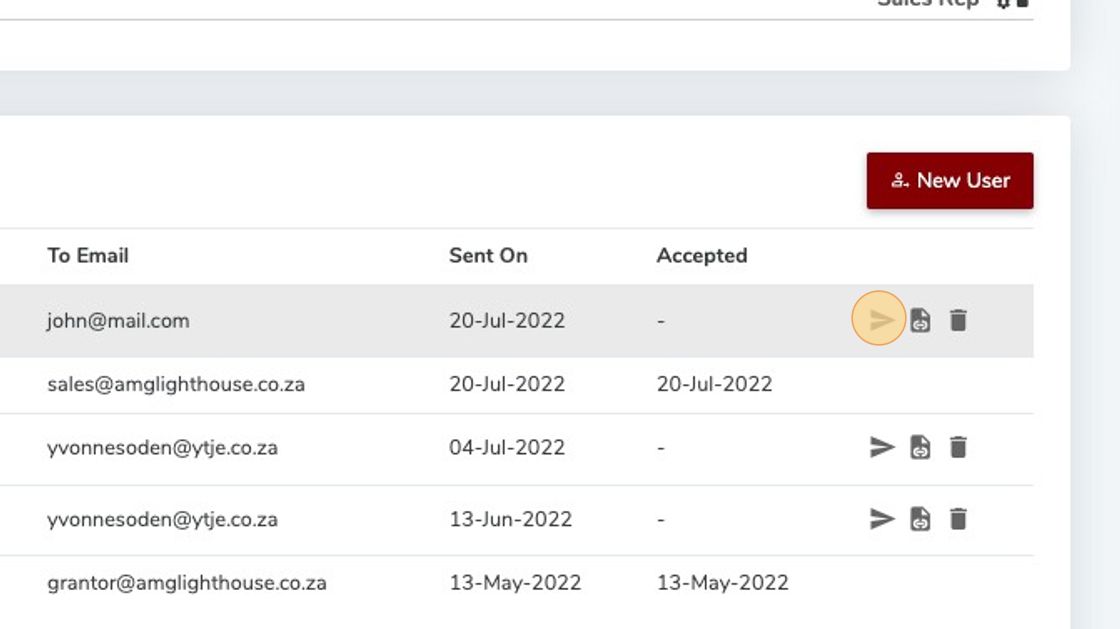
2. Click "Send".

3. Click on "Continue".
# Send Link Manually Admin Only
Why would you do this?
You might find it easier to get the user on the system by sending the link over a different messaging service. For example in a case where the user is not receiving the email invite.
1. Click on the URL icon.
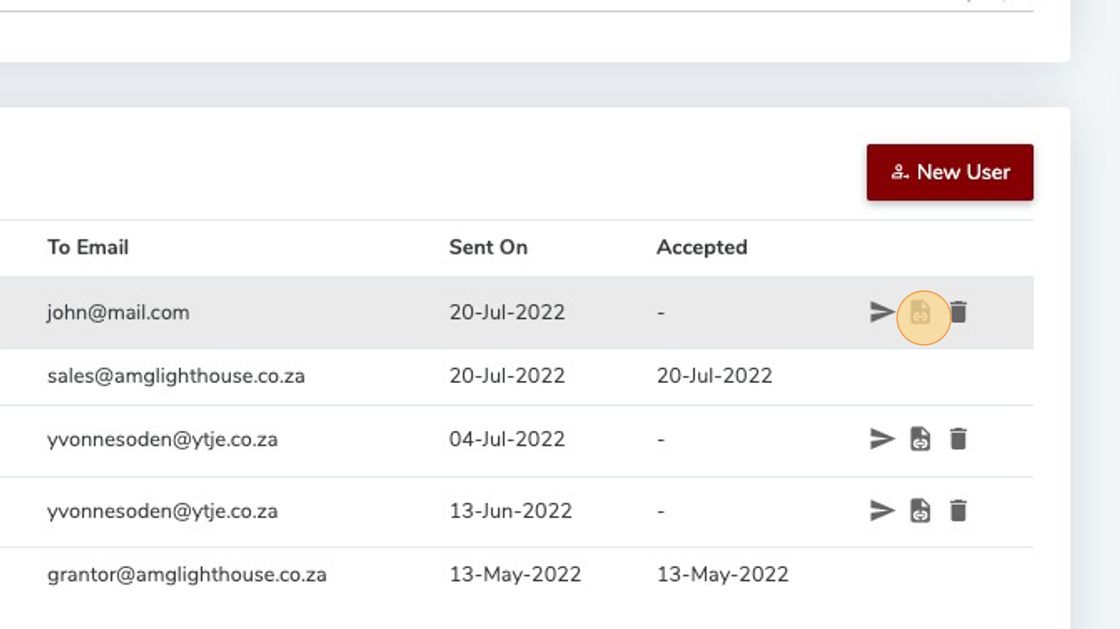
2. Click "Continue" and then send the link to the new user manually.
# Deleting A User Invite Admin Only
1. Click the "Bin" icon.
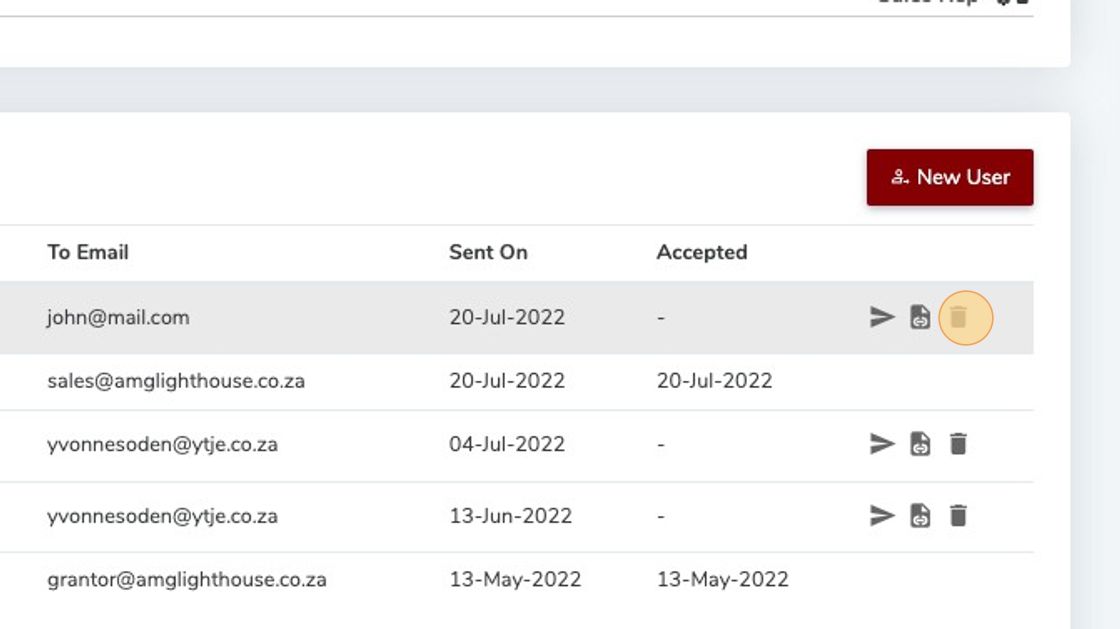
2. Click "Delete" to confirm.

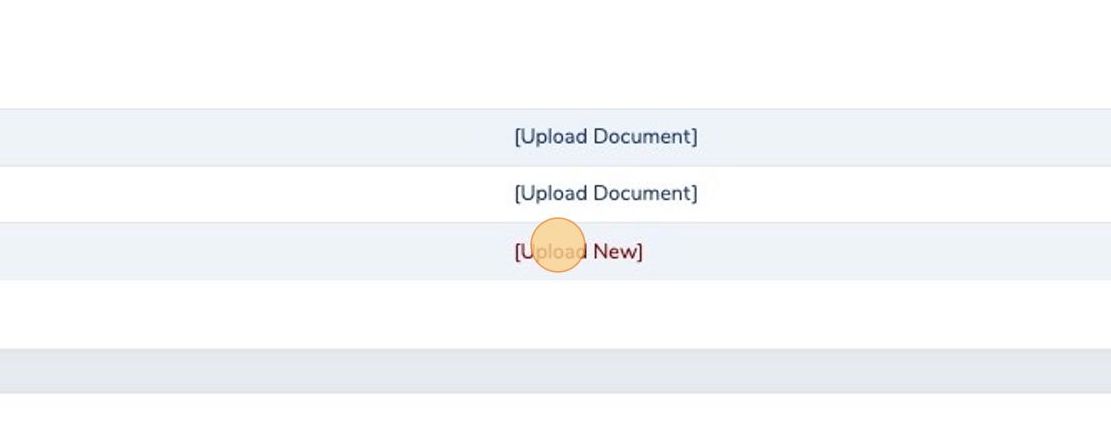
# Uploading Or Replacing Your Terms & Conditions Admin Only
This guide will help you upload your T&Cs and will also work for replacing them once updated. Your T&Cs will appear as a link for your customers during the application process.
1. Click "Your Profile".
2. Click "My Organisation".
3. Find "Credit Terms and Conditions", then Click "Upload New" and attach your document to upload.
# Application Settings Admin Only
# Include Consumer Protection Act Clause
Please click on the help icon in the system to view the Consumer Protection Act, if relevant to your organisation.
# Enable Cash Applications
Allows your customers to apply for cash applications. A cash application is a slimmed down application, but still allows for digital signatures and any additional document gathering required.
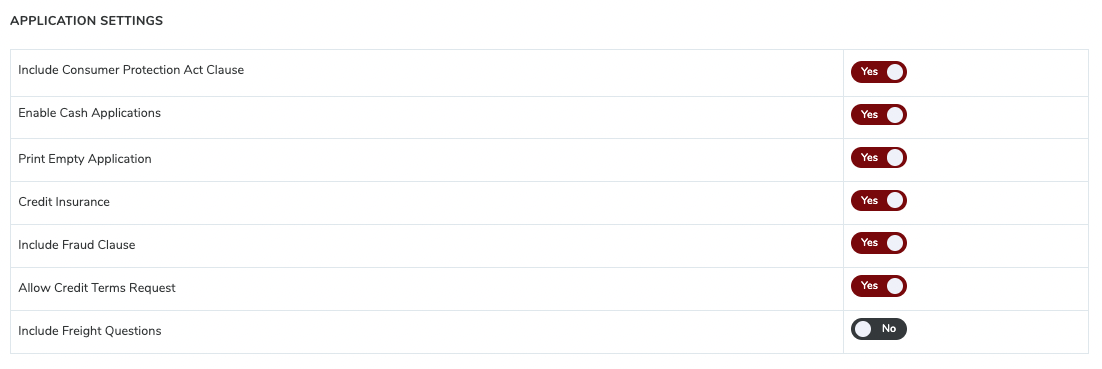
# Print Empty Application
Allows the option to print a blank application (or save as PDF) should you require this. This can be found under Applications -> All Applications and then click on the "Blank Application" button.
# Credit Insurance
If your organisation makes use of credit insurance, this facilitates the allocation and tracking of your credit insured accounts.
Under insured accounts and accounts with limits of discretion or without limits of discretion are also identifed. In addition, the ability to request credit insurance cover from a leading credit insurance broker, is also provided through the system.
# Include Fraud Clause
Please click on the help icon in the system to view this clause should you wish to add it as part of your application.
# Allow Credit Terms Request
By allowing this credit terms request to be added as part of your application, an applicant will be able to select their preferred credit terms.
# Include Freight Questions
We have a specific set of questions related to the freight industry which are included in the application. Please click on the help icon in the system to view the relevant questions related to your application.
# Pharmaceutical Industry
| Grantor Admin | Credit Controller | Sales Rep | Attorney |
|---|---|---|---|
| ✔️ | ✔️ | ✔️ | ✔️ |
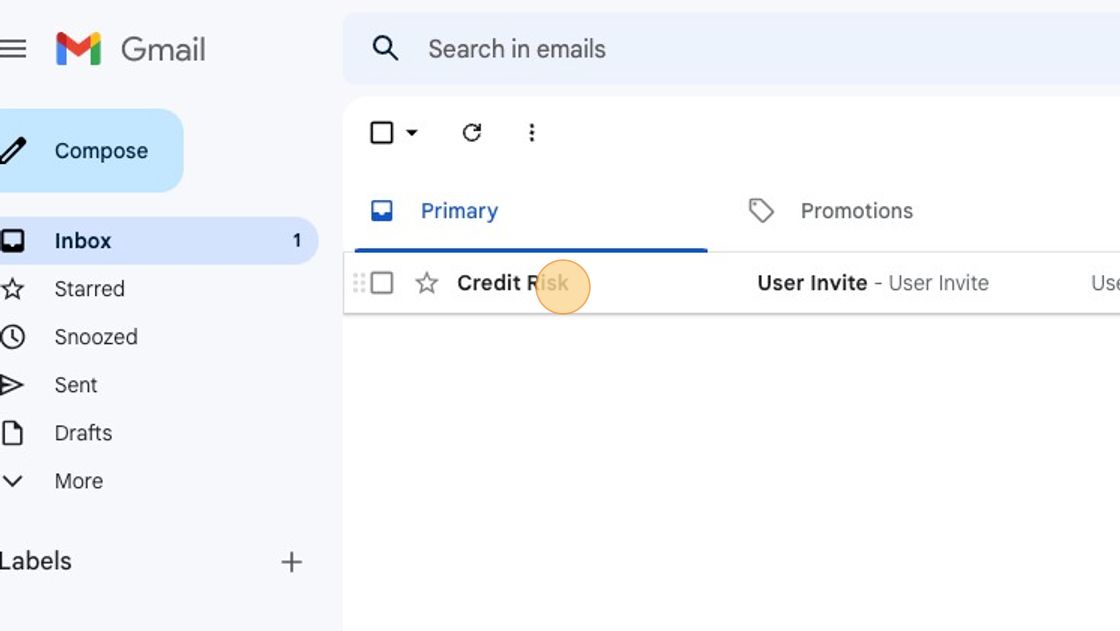
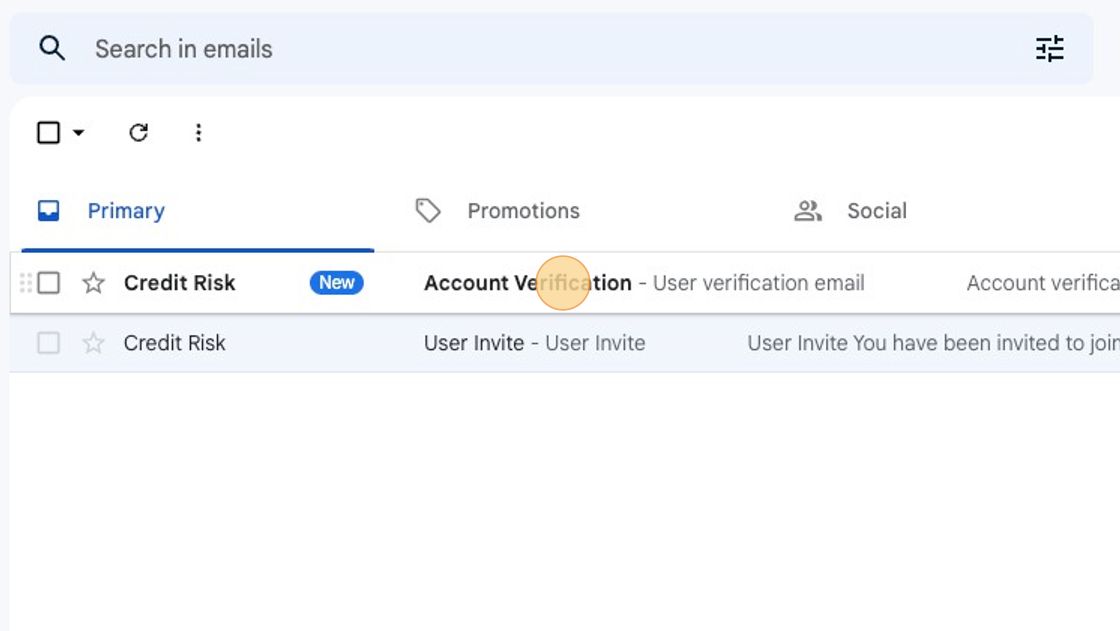
After inviting a user with this process into your organisation, they will receive an email. They can follow these step to get verified and logged in.
# Set Your Risk Matrix Admin Only
# A risk matrix based on account value and score, segmenting your book into specific risk segments
The risk matrix is a way of segmenting your book into a matrix based on the value of the account and the overall risk score provided by the system.
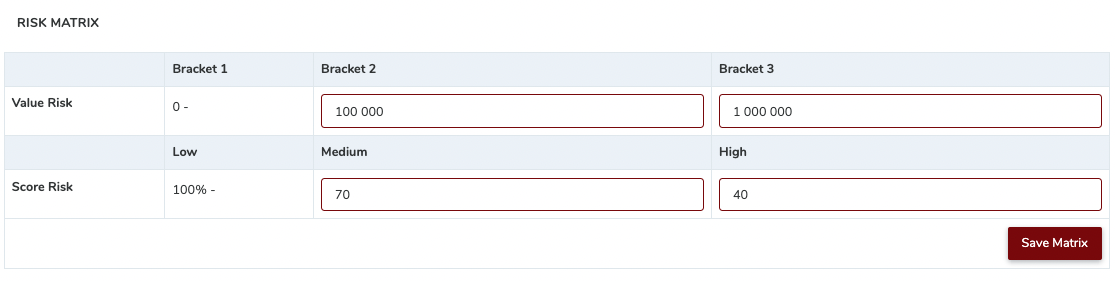
You will see this on your dashboard, as well as being able to use this as filter throughout the system when filtering on accounts. You will need to set the brackets for both value and risk score % based on your organisation's risk appetite.
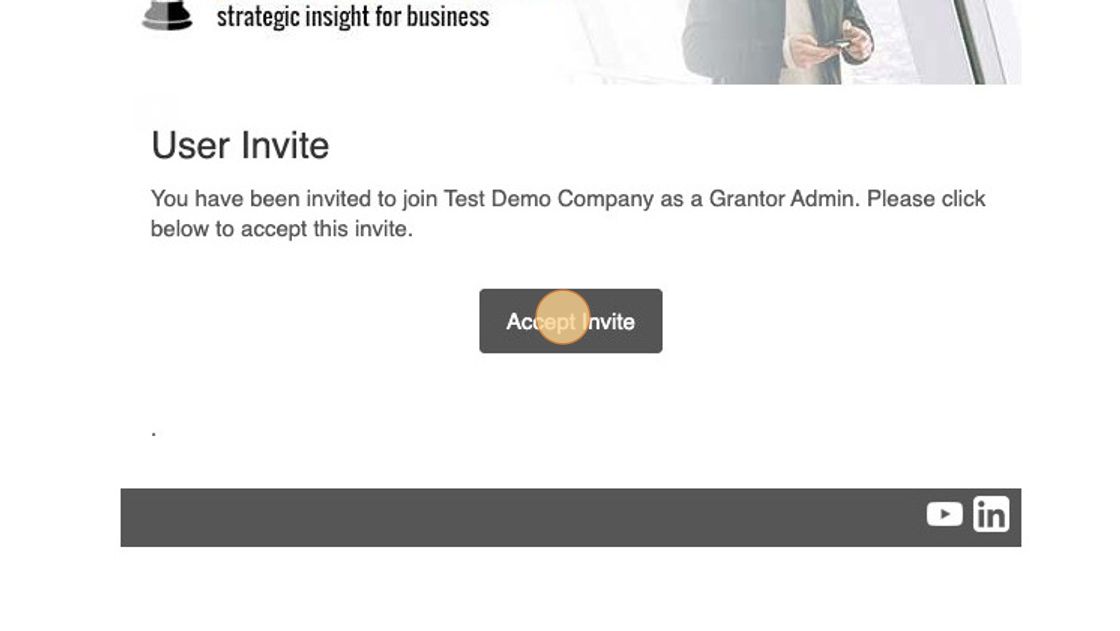
# User Invite Process All Users
- Open the email invite you received from the system. Please check your Junk/Spam folder if you have not received it.
2. Click "Accept Invite".
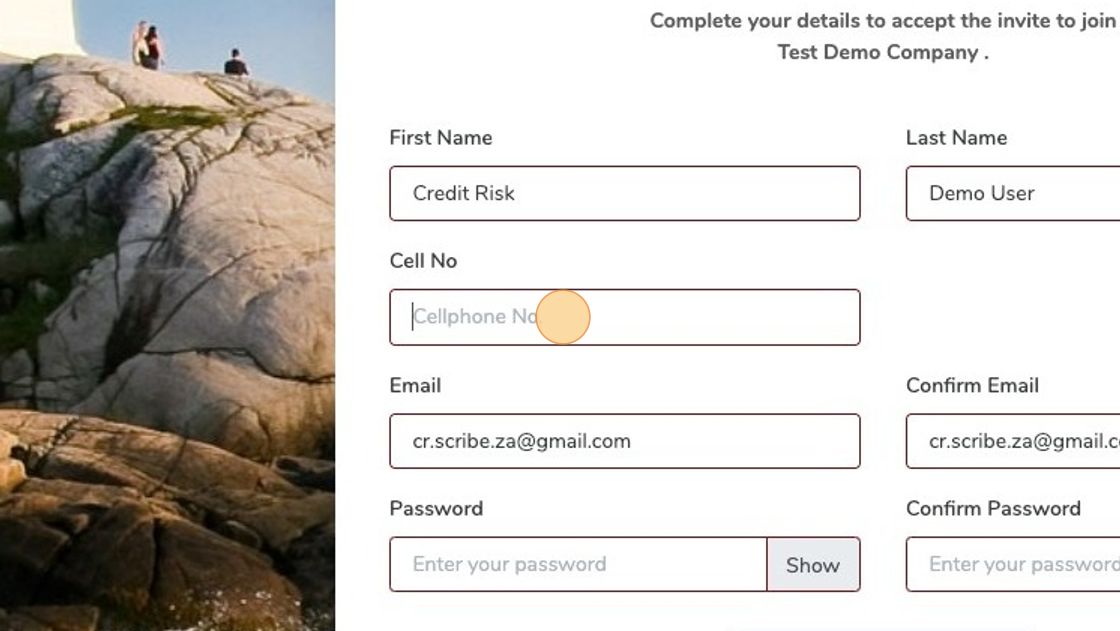
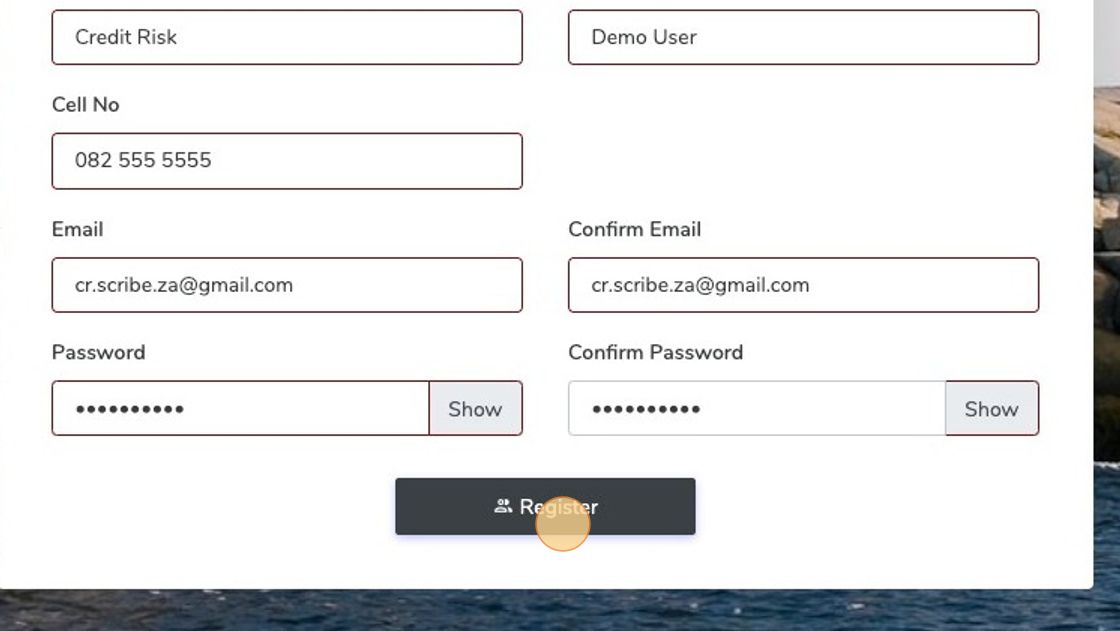
3. Fill in your details.
4. Click "Register".
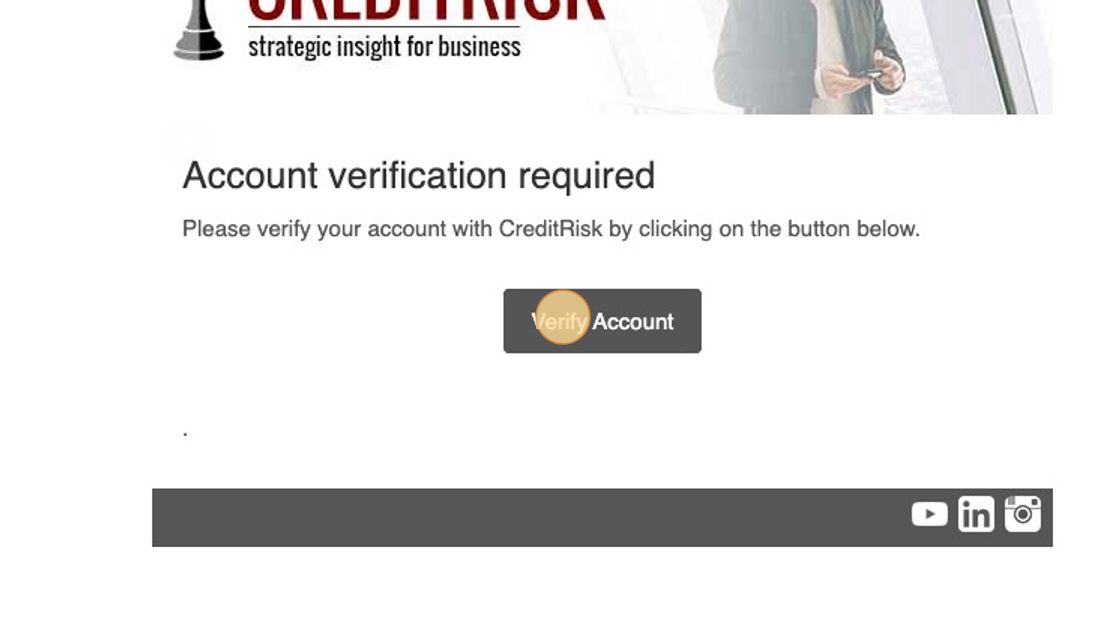
5. Take note that verification is needed via a second email.
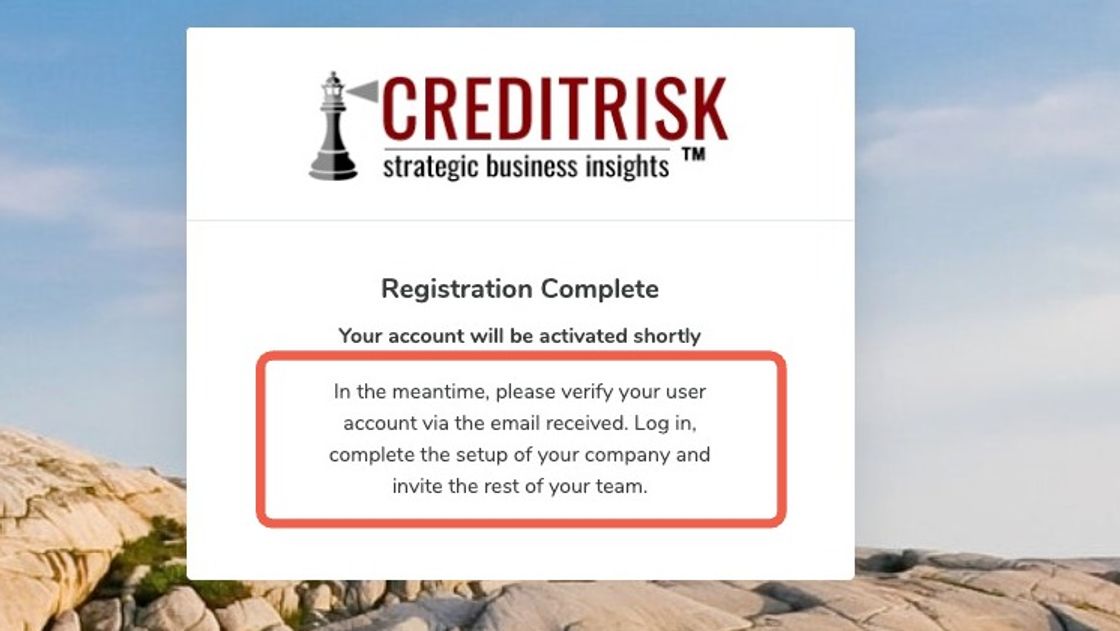
6. Open the second email to verify your account".
7. Click "Verify Account".
8. Take note of the message, explaining that you are now verified.
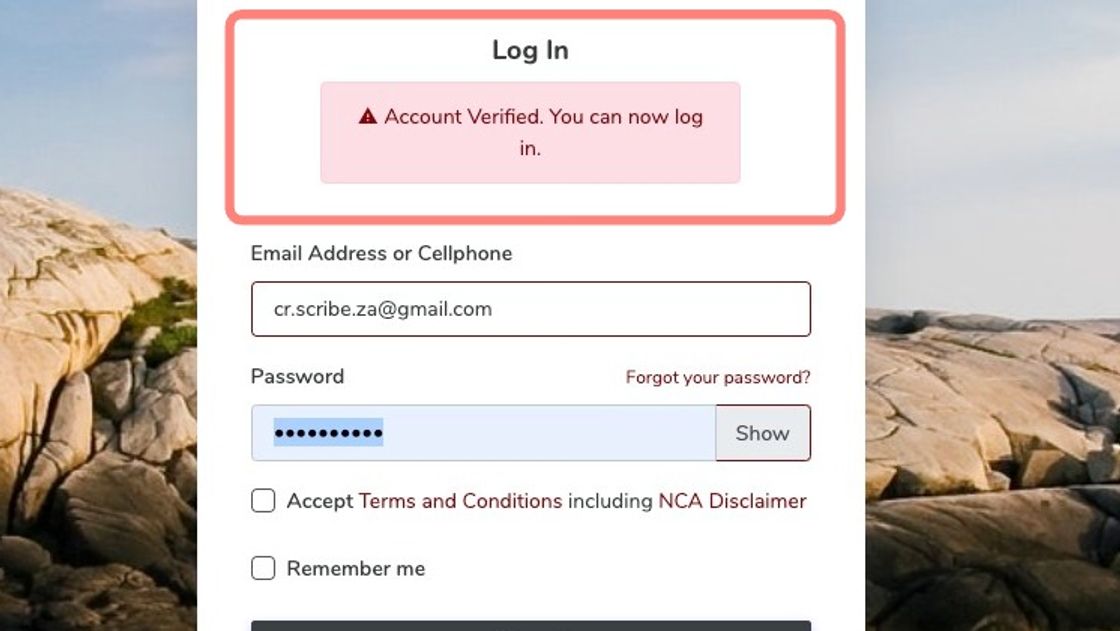
9. Tick "Accept" Terms and Conditions.
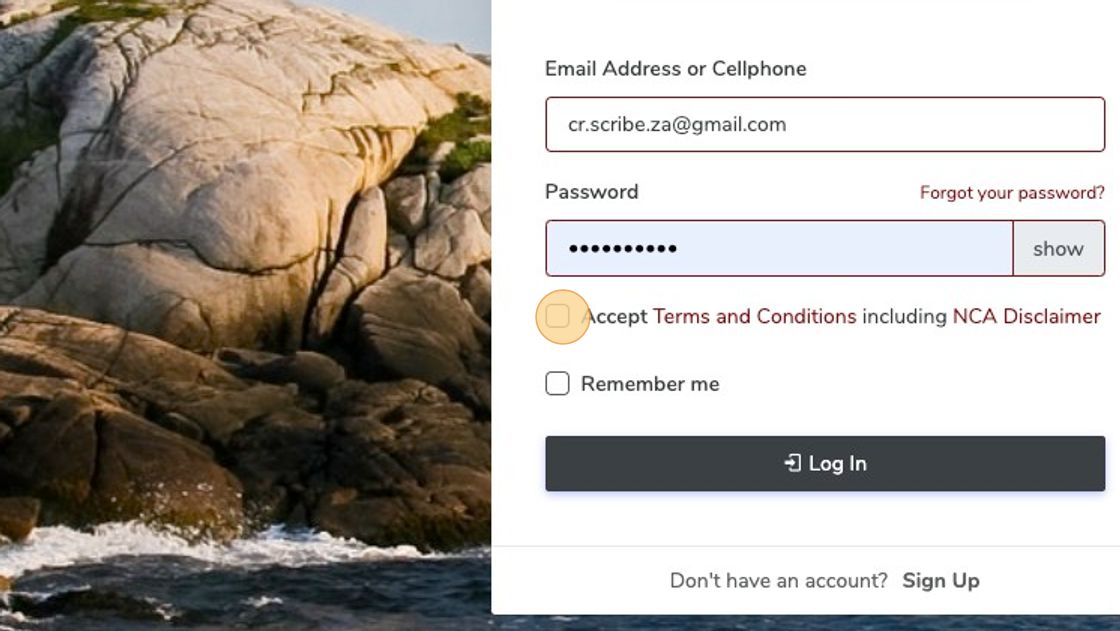
10. Click "Log In".
